Beautiful Christmas Vision Tutorial And Wallpaper
Hilmi
|
Sabtu, 20 Februari 2010
|
0 comments

We will learn how to use pen tool, use paths, smudge tool and yes – how to create 3D effect in Photoshop in joyful way!
This is what we are going to create this time, finished result:
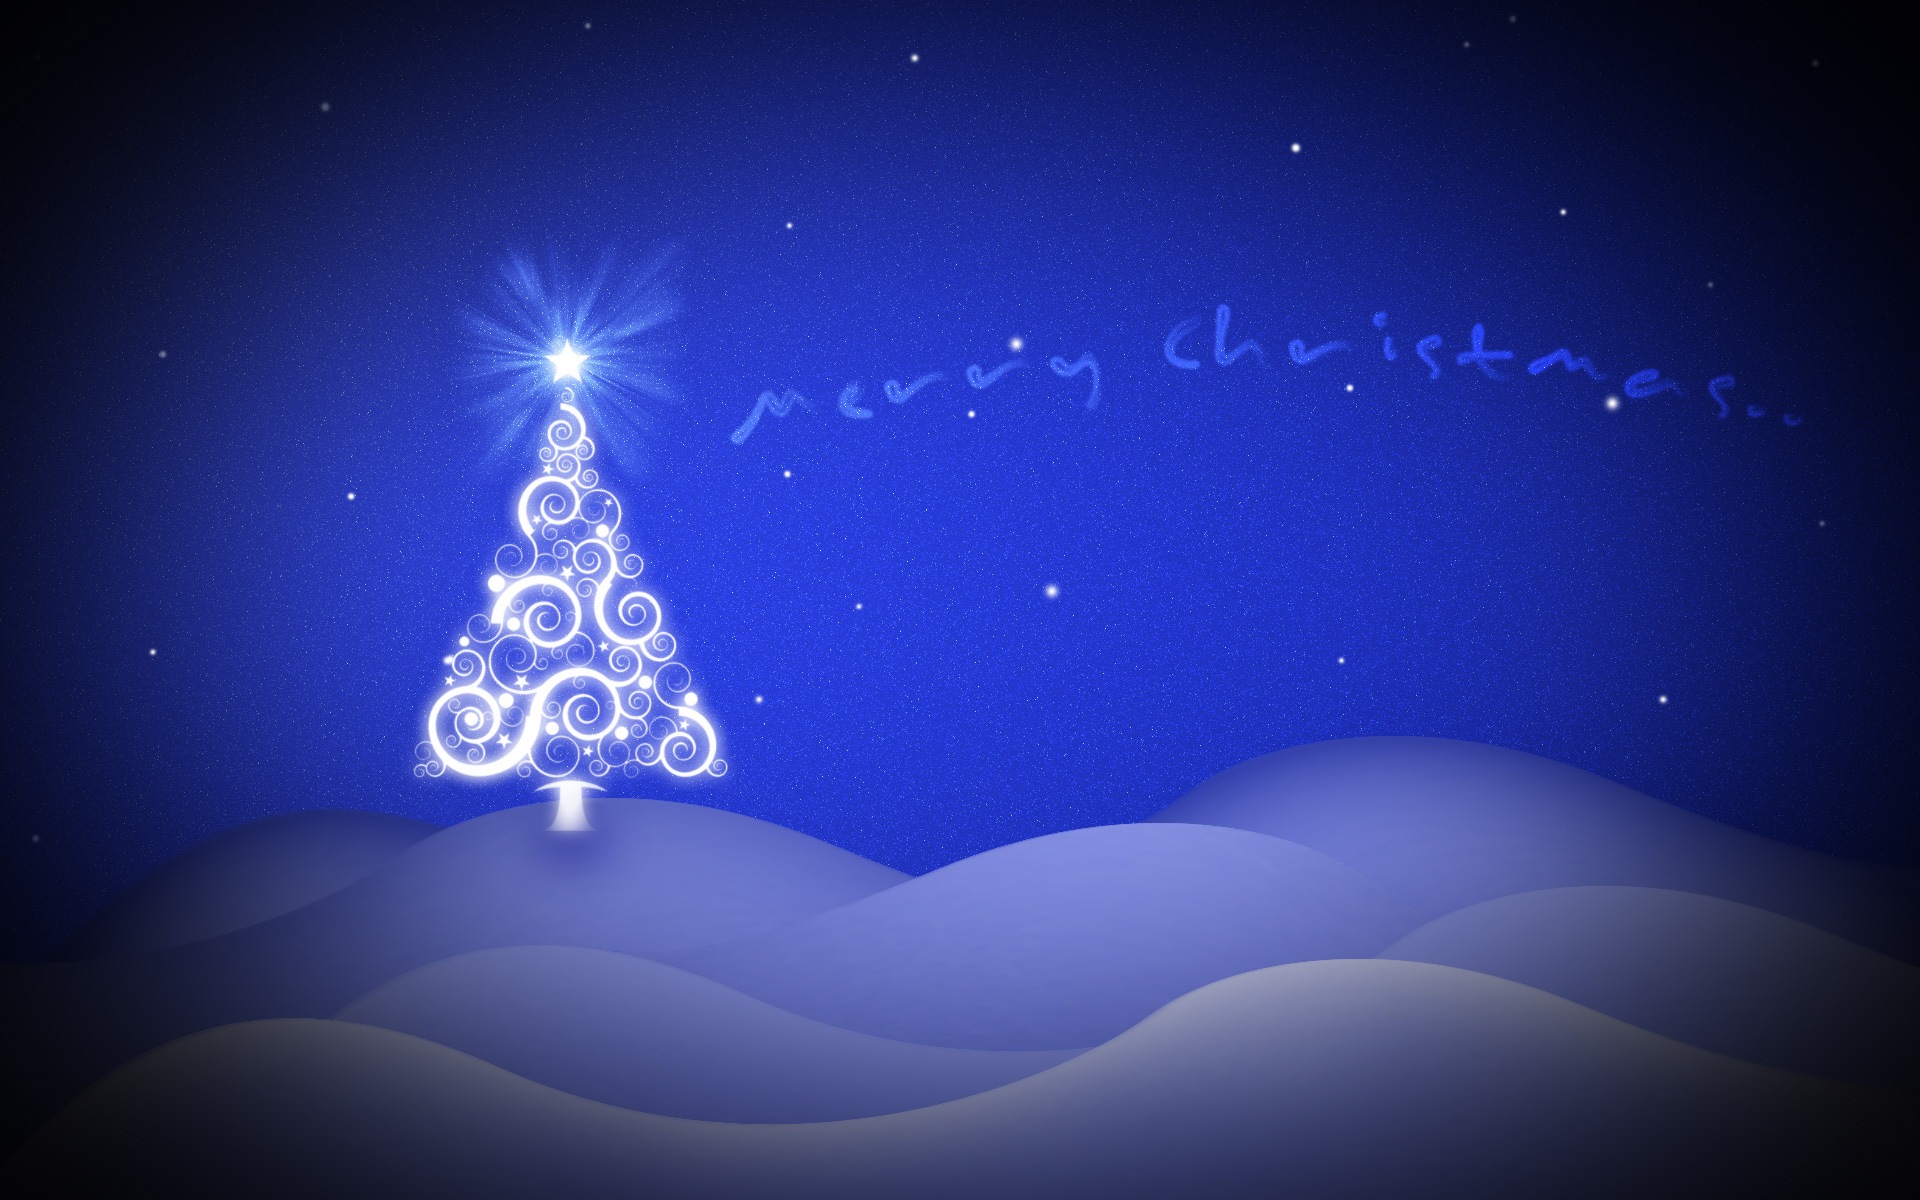
Click on the wallpaper to view and download it full sized.
Step 1
Create a new document, I wanted this to use later as wallpaper, so I used 1920×1200 resolution, 72 dpi.
Activate radial gradient (G), use colors #3d51f7 and #1525a0 and fill background with it like in the picture below.

Step 2
Now let’s create some hills and falls.
Hit CTRL+SHIFT+N to create a new layer and press P to activate Your Pen tool. Do selection like picture below creating smooth lines and don’t forget to close whole selection.

Now bring up Your path panel – Window–>Path and press CTRL+CLICK on the work path to make selection.

Grab again gradient tool (G), but this time use linear gradient using colors – #a2acff and #4759e5.

Step 3
It’s time we add more snow feel to hills.
Go to Filter–>Add Noise and use settings like me. This action will give us snow effect.

This is important – with still Your hill selected, grab smudge tool and smudge our hill in the right direction, like on the picture below.

Pick Your own settings or choose mine, but be patient, this action takes much memory, so Your computer will sow down for a time while smudging.

Ok, I am checking with You – I got result like this :

Step 4
Now repeat step 3 multiple times using different colors to get more unique results, but I cheated and just duplicated this layer several times and I’ll go through those steps with You too:
I duplicated Layer 1 four times, You can do it with right click on the layer and clicking “Duplicate Layer” or just pressing CTRL+ALT+UP button.
Move every duplicate to create hills and falls – flip few layers horizontally, by pressing CTRL+T and right click on layer and “Flip Horizontal”.
Also if You got ugly corners press CTRL+T and right click –>Warp moving Your layer until it looks okay for You.

Looks already interesting? But let’s add more natural colors to add 3D look.

Step 5
Remember Your layer hills in the front must be lighter and hills at the back must be more in the shadow.
I won’t go in details with these steps, just use different colors in the inner glow, example of my back layer settings:

You should use a little different settings on each layer to get effect like me:

Step 6
Let’s add stars on our background now.
Organize Your hill layers, by selecting them all holding SHIFT and clicking on each of them and pressing CTRL+G then to group all hill layers.
Rename new group to “Hills”.
Now create new layer ( CTRL+SHIFT+N), right above the background, fill it with black ( choose black and ALT+DELETE to fill).
Go to Filter–>Add Noise and add settings like on picture below (amount 20-30):
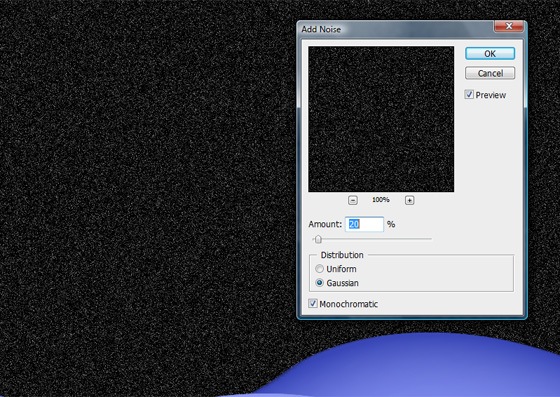
Change Blending style to Color Dodge

To get lesser amount of white noise, go to Image–>Adjustments–>Brightness/Contrast:

Press CTRL+L or go Image–> Adjustments–> Levels, to get little more different effect, if You need:

And optionally grab soft brush, change opacity to 40-50% and erase something if You feel You have to much stars.
Step 7
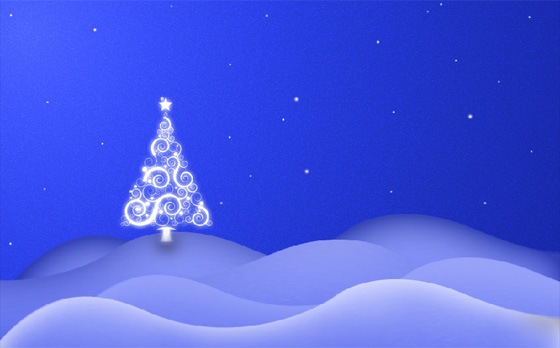
Now create a new layer, grab soft white brush (17-20px) to create a snow or pick some cool Christmas brushes from my collection – 48 Snow, Ice, Snowflake and Christmas Brushes, but if You are interested I will guide You shortly through my final steps -
Change opacity and randomly put snow in the sky.

Now, I used Christmas Tree brushes, added outer glow, shadow on the bottom of the tree and got result like this:
Create new layer right above background,sky and hills;
Press CTRL+A to select all, choose elliptical marque tool and take selection like me:

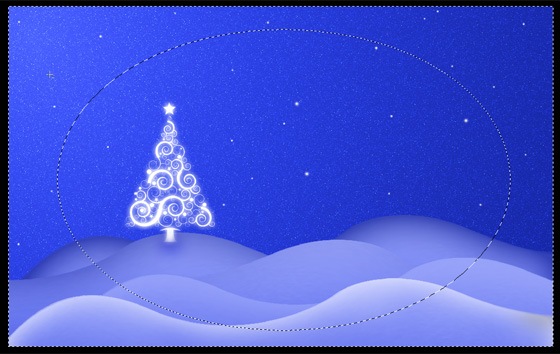
Press ALT+DELETE to fill Your layer with foreground color ( You must have black color #000000), change opacity if it’s too dark.
I also added some more brushes, Christmas text and we’re finished! I didn’t go detailed on finish, so everybody of You can create unique wallpaper to share with friends, and again don’t forget about my brush collection – 48 Snow, Ice, Snowflake and Christmas Brushes.

Download *psd file
Download Christmas Scene Wallpaper (1920×1200px)
Please share with Your results if You go through this tutorial and feel free to ask if You don’t understand something! Merry X-mas!
Filed Under: Tutorial Design

0 comments
Trackback URL | Comments RSS Feed